Life Lanes by Progressive | Navigate a better life
Tried and true tips for cars

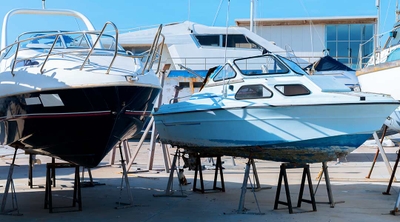
Take off on your boat, motorcycle, or RV

From moving to design, all under one roof

Helping you adjust to life's changes
Tried and true tips for cars
View Auto articlesTake off on your boat, motorcycle, or RV
View Recreational articlesFrom moving to design, all under one roof
View Home articlesHelping you adjust to life's changes
View Life Moments articles


Something to Discover

Explore more articles
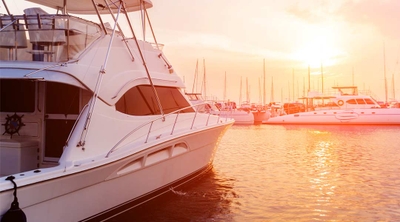
How to winterize a boat

How to winterize an RV
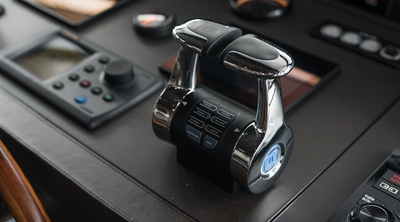
Best boat electronics to keep on board

How to anchor a boat
How to dock a boat

What is an interlock device on a motorcycle?

How to live in an RV full-time

What happens if I get an out-of-state speeding ticket?

Drunk driving prevention tips

How does a water pump work?
When do most car accidents happen?

Parking lot safety

Puppy vaccination side effects: What to expect after your puppy gets their first shots

How to set rules for my teenage driver
Why should you take breaks on motorcycle road trips?